I want to record lectures or instructional videos for my students. How do I get started? What are the best equipment options for me while creating this virtual classroom? What are some best practices for making lecture videos for my class? What resources are accessible to me?
Getting Started
Background Noise
Minimize background noise before starting.
Before you start filming, do a listening check for the background noises coming from inside or outside your recording room. Recording devices easily pick up on rustling paper, outside yard equipment being used, the television in the next room, and so forth. Taking a few minutes to minimize this noise ahead of time will save you re-recording time in the long run.
Lighting and Background
Simple tips can improve production values.
When filming yourself, make sure there is adequate lighting. If you have a window in your office, face the window and place your camera in front of it to make use of natural light. Do not have your back to a light or window, as this will obscure your face. If you do not have a window, focus a bright desk light toward your face. Also, pay attention to what is in the background to ensure that it is appropriate. Keep the background simple and not too distracting to avoid “cognitive overload.”
What to Wear
Single color, non-black clothing works best.
Avoid colors that blend into the background (for example, blue clothes on a blue background). Patterns and stripes can be distracting. Stick with muted colors as some cameras cannot easily handle bright colors. If you wear glasses, take care to make sure that a light is not directly reflecting off the lens. Avoid wearing large jewelry or accessories that rattle together, creating background noise.
*Excerpts from the Center for the Enhancement of Teaching and Learning, UC
Best Practices for Video Making
Avoid “Cognitive Overload”
Don’t present too much information at once.
Many of the suggestions below derive from an awareness of cognitive load theory. Media should avoid creating a state of “cognitive overload” in which too much information and visual stimuli are presented too rapidly. A guiding principle in the design of instructional videos is to focus on clarity and conciseness.
How to Speak
Remember, your audience is through the camera.
When recording, remember to speak through the camera to your students. Talk naturally, but articulately. A good example to follow for presentation style is this video by Daphney Wadley, PLNU faculty.
Ideal Length of Video
Keep videos around 4 minutes.
Research shows that students generally watch videos for an average of 4 minutes, so if you need a longer amount of time, consider breaking up your material into several shorter videos (Hibbert, 2014). The ideal time frame is between 2 and 5 minutes, after which studies show a significant drop off in views (Hsin & Cigas, 2013; Guo, Kim, & Rubin, 2014).
Work from a Script
It can provide structure, even if you want to go “off script.”
Even if you plan on speaking extemporaneously, it can help to write a script beforehand so that you have a structure planned for your presentation of the information. Scripts can cut down on anxiety for those who feel uncomfortable speaking impromptu. Working from a script can also give you a head start on closed captioning, discussed below.
*Excerpts from the Center for the Enhancement of Teaching and Learning, UC
Equipment Options
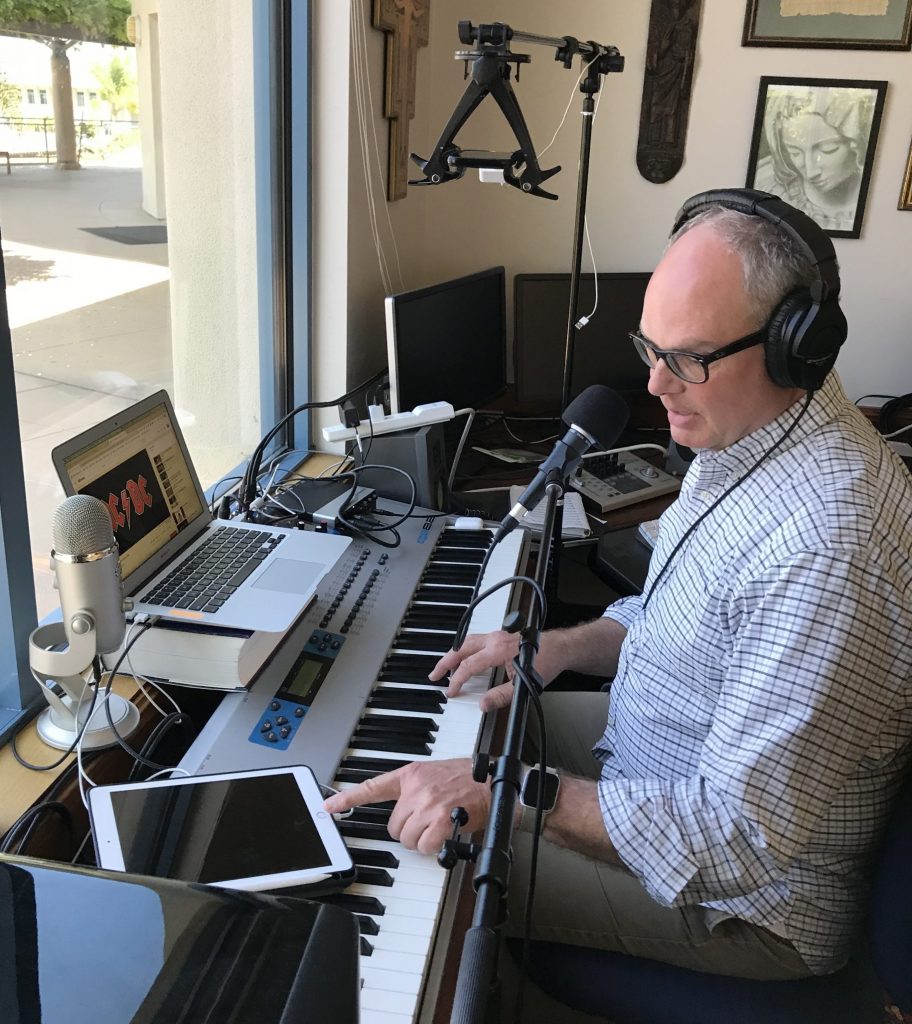
Mics: Audio quality makes a big difference in your video. Here are some mics that I recommend:
1. PoPVoice lapel mic, about $20, 12.8 foot cord. Plugs into the headphone jack on my Mac and iPad with no adapter but needs an adapter for my iPhone. Good sound quality.
2. The Yeti stand mic, about $100. It’s more sophisticated and expensive. It has volume control, a mute button and headphone output. Good sound quality and functionality. It’s a USB, which plugs into my Mac, but needs an adapter for my iPhone or iPad.
3. The Samson – Q2U Dynamic USB Microphone is recommended by Chaz Celaya, one of our Music Department faculty. He said this mic has better resolution, less controls to confuse people with, and comes at a great price of about $60.
Other Video Resources
Screencast-o-matic – This tool is very popular and widely used to record lectures. It is free, unless you want to edit your videos. It runs about $1.65 a month (billed yearly) for the individual educator.
QuickTime – This Apple tool is in your Applications folder on your Mac. It is easy to use, and will do all of your basic video and audio recording.
VoiceThread – This tool is great for language learning, student presentations, and enabling students to give peer evaluation feedback. The free version is limited, and there is an instructor cost if you want your students to use it.
YouTube – Many of us upload our recorded videos to YouTube. It takes just a quick minute to include subtitles or captions in your videos, making them ADA compliant.
Zoom – This is the go-to tool for video conferencing and synchronous class sessions or office hours. The great part about Zoom is that it is integrated with Canvas, and it is free and accessible to all of our PLNU faculty and students. In addition, it has a recording feature so that you can record your Zoom session for anyone who missed it the first time around.